No products in the cart.
Sale

Description
TPI 397 Pen Style PH Meter

PH Meter
- Waterproof design protects the meter during use
- Low power consumption extends battery life for low operation costs
- Replaceable Glass Test Tip Electrode that screws on for ease a solid of use
Applications:
- Boiler water testing for proper PH level to avoid internal material degradation
- Check automotive radiators to avoid acid level build up resulting from dissimilar metals
- On-site water testing for wells and septic systems; saving lad testing time
- Quickly and easily test aquariums, spas and swimming pools for proper PH levels
Operating Instructions
- Remove the protective cap and press the ON/OFF button to turn on. (Calibrate the unit with known PH liquid for first time use, or using after long-term storage)
- Dip the electrode into sample solution. Stir gently and wait for a few seconds until the display value stabilizes. The readout is the PH value.
- After testing is completed dip the electrode into distilled or de-ionized water. Stir gently, then use a soft cloth to gently dry the water from the glass test tip.
- CAUTION: Use care when drying the tip to avoid damaging the test tip.
- When storing the PH meter – turn the unit off, put a few drops of distilled water or de-ionized water on the sponge inside the cap, put the cap on the PH meter. The sponge with liquid will keep the test tip clean and ready for the next use. It is now properly stored.
- If the unit cannot be turned on or the display fades, replace all of the batteries.
Calibration
The PH meter has 2 calibration points.
Point 1 is inside the battery compartment at the top.
Point 2 can be seen it when you remove the battery carrier, it’s located below the battery.
- Clean the glass test tip electrode with distilled or de-ionized water.
- Dip the electrode into 6.86PH (or7.00PH) buffer solution. If the display does not show between 6.80 – 7.00 PH, adjust Point 1 to make it display 6.90PH.
- Clean the glass test tip electrode with distilled or de-ionized water.
- Dip the electrode into 4.01 PH buffer solution. If the display does not show between 3.90 – 4.10 PH, adjust Point 2 inside the battery compartment to make it display 4.00PH.
- Clean the glass test tip electrode with distilled or de-ionized water.
- Dip the electrode back to 6.86 PH buffer solution. If the display is correct recalibration is completed, if not, repeat procedure 2 thru 6.
Notes
- This PH meter uses a special glass PH probe. It is suitable for PH measurement of liquid. Storage time is 8 to 10 months.
- Calibration is required for first time use or after long term storage. Calibrate at least one known point to ensure the accuracy.
- Before measuring different liquids, the PH probe should be cleaned with distilled or de-ionized water, to prevent cross-contamination among different liquids.
- If the display does not turn on, fades or is apparently in-accurate replace the batteries. It is recommended to re-calibrate after replacing the batteries.
- When measuring for PH wait for a few seconds for reading to stabilized for the PH value.
- Do not measure dirty ,sticky or oily liquids. They will contaminate the test tip probe surface. This will lead to wrong PH values and could damage of the probe. (If the probe is used for above mentioned dirty, sticky or oil liquid by accident, clean the probe immediately with de-ionized water and a dry soft cloth, then use a cotton swab with 99% pure alcohol to gently wipe the test glass tip probe. Clean the probe once again with distilled or de-ionized water).
Environmental Testers / Physical Property/PH Meters Template | |
|---|---|
| Style (pH Meters) | Hand-Held |
| Minimum pH | 0.10 pH |
| Maximum pH | 14 pH |
| pH Resolution | 0.10 |
| pH Accuracy | +0.10 |
| Waterproof Housing | Yes |
| Data Hold/Recall | Yes |
Product General Attributes | |
| Warranty | 3 YEARS |
| Battery Type | Other Battery Type LR1130 Button Battery |
| Power Supply Voltage | Battery Powered |
| Country of Origin | China |
You must be logged in to post a review.
Manuals/Guides
Related products

Sale
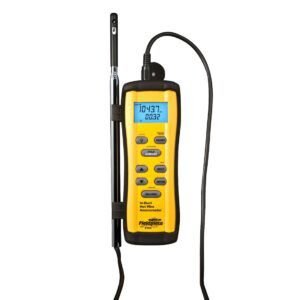
Fieldpiece STA2 – In-Duct Hot-wire Anemometer
Original price was: $533.50.$453.47Current price is: $453.47. Add to cartSale

Testo 410-2 – Vane Anemometer with Humidity Measurement (Part number 0560 4102)
Original price was: $291.50.$247.77Current price is: $247.77. Add to cartSale

Myron RPR – Myron L Replacement pH/ORP Sensor
Original price was: $303.60.$251.50Current price is: $251.50. Add to cartSale
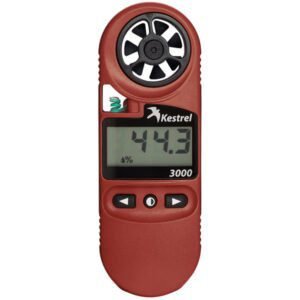
Kestrel 0830 – 3000 Wind Meter
Original price was: $232.10.$185.90Current price is: $185.90. Add to cart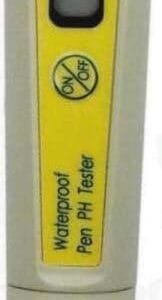 TPI 397 Pen Style PH Meter
 Original price was: $137.44.$126.44Current price is: $126.44.
Our team of knowledgeable professionals is here to help you make informed decisions. Whether you need product recommendations, technical support, or guidance on your purchase, we're just a click away.
Contact Us Now:
📧 sales@nestesinstruments.com
📞 +1 (833) 763-7837
Let us assist you in finding the perfect solution!
Contact Us Now:
📧 sales@nestesinstruments.com
📞 +1 (833) 763-7837
Let us assist you in finding the perfect solution!
Reviews
There are no reviews yet.